新聞資訊
Formlabs 宣佈推出 Form 4:極速打印,精準無比 | 現正接受預訂
Formlabs 自豪地宣佈推出全新的 Form 4,這款新型樹脂打印機以驚人的速度、精準度和無可比擬的準確度打印。利用 Formlabs 生態系統的
MORE 
04/18
2024
03/28
2024
04/18
2024
03/28
2024
03/20
2024
02/28
2024
02/28
2024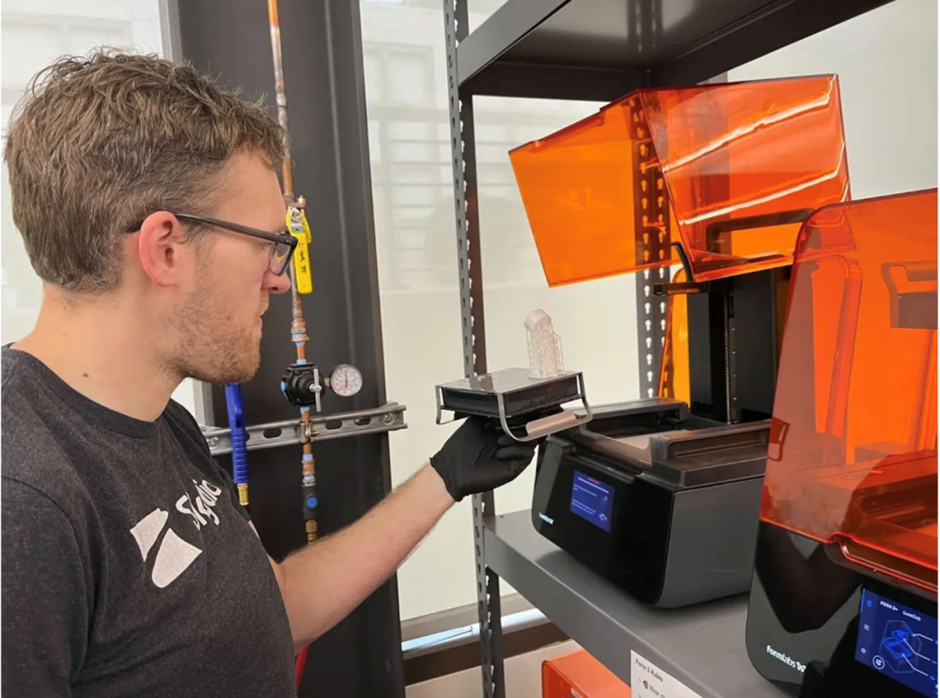
02/22
2024